How to Remove Temporary Files to Boost Computer Performance
At times a Windows PC may become cluttered with temporary files taking up hard drive space and reducing system performance. Temporary files are stored on your computer from virtually all actions performed. Sometimes the installation of a new application or surfing the Internet can populate the temporary files directed with an abundance of unwanted files. Most temporary files are stored in a central location found in the following path: C:\Windows\Temp. As this directory gets filled with files, it can greatly affect system performance. Cleaning up these files will free up hard drive space while increasing performance at the same time. It is strongly recommended that you back up all of your data before performing the actions below of removing or cleaning up temporary files.
To automatically clean up temporary files and fix Windows errors, download RegHunter to run a PC diagnosis.
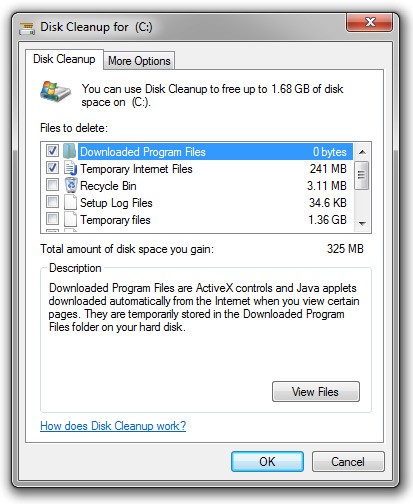
How to Clean Up Temporary Files in Windows Vista and Windows 7 Using Windows Disk Cleanup
To manually clean up temporary files, follow the steps below:
- Go to the Start menu > select All Programs > click on Accessories > select System Tools.
- Open the Disk Cleanup Application.
- Select the Disk Cleanup tab to view the files. Check files that can be removed and then click OK.
- Click on Delete to confirm removal of the files.
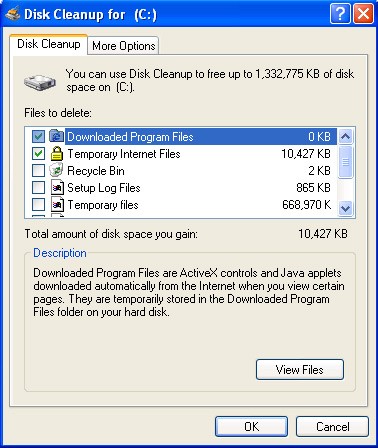
How to clean up Temporary files in Windows XP using Windows Disk Cleanup
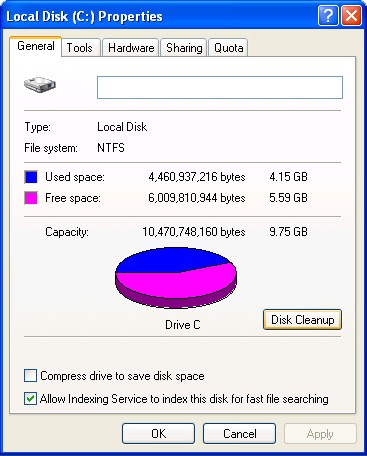
- Open up My Computer and select the disk you want to clean up Temporary files on (usually the C: drive) and right-click it > select Properties > click the Disk Cleanup button.
- Check the type of files that you wish to remove including those in the Temporary Internet Files folder. Click OK.