VirusProtect
Threat Scorecard
EnigmaSoft Threat Scorecard
EnigmaSoft Threat Scorecards are assessment reports for different malware threats which have been collected and analyzed by our research team. EnigmaSoft Threat Scorecards evaluate and rank threats using several metrics including real-world and potential risk factors, trends, frequency, prevalence, and persistence. EnigmaSoft Threat Scorecards are updated regularly based on our research data and metrics and are useful for a wide range of computer users, from end users seeking solutions to remove malware from their systems to security experts analyzing threats.
EnigmaSoft Threat Scorecards display a variety of useful information, including:
Ranking: The ranking of a particular threat in EnigmaSoft’s Threat Database.
Severity Level: The determined severity level of an object, represented numerically, based on our risk modeling process and research, as explained in our Threat Assessment Criteria.
Infected Computers: The number of confirmed and suspected cases of a particular threat detected on infected computers as reported by SpyHunter.
See also Threat Assessment Criteria.
| Ranking: | 8,067 |
| Threat Level: | 100 % (High) |
| Infected Computers: | 9,538 |
| First Seen: | July 24, 2009 |
| Last Seen: | September 13, 2023 |
| OS(es) Affected: | Windows |
VirusProtect Image
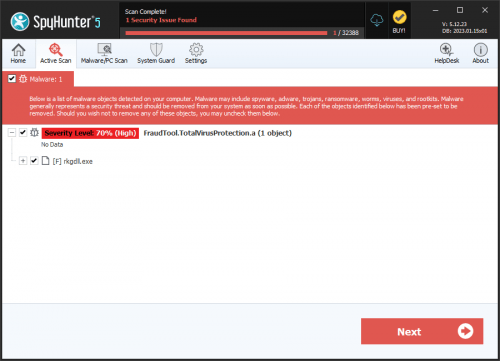
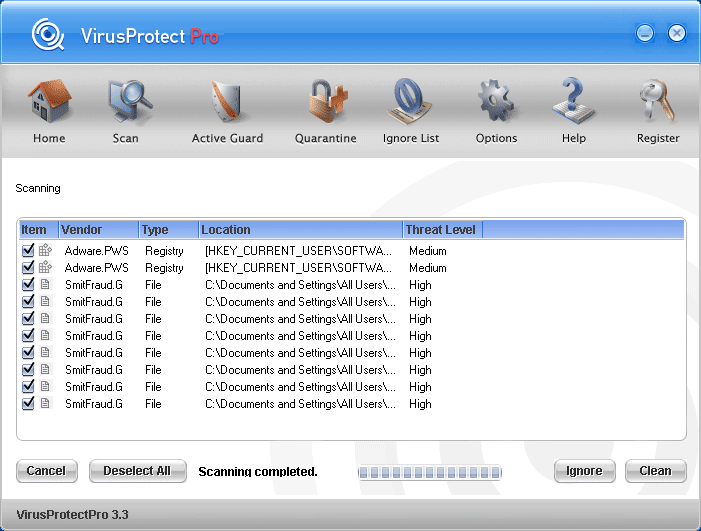
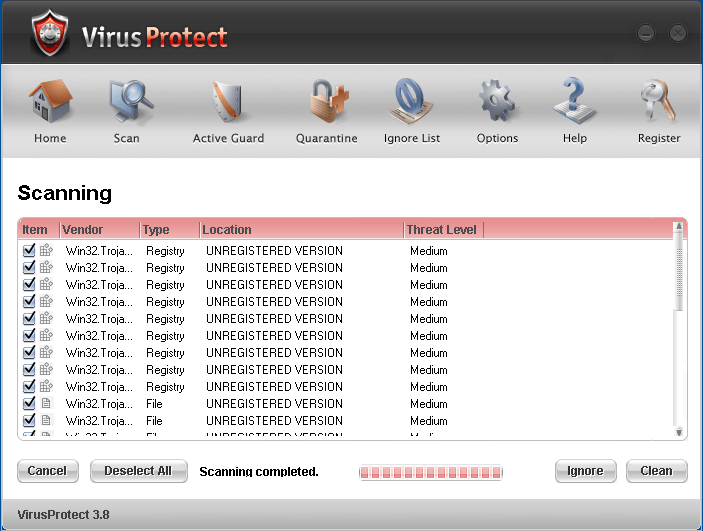
VirusProtect is a rogue anti-spyware program that is often downloaded and installed by a Trojan or through browser security holes. VirusProtect launches on Windows startup and may generate excessive popup adverts. It will also display notifications of imaginary security risks in its attempts to get the user to purchase the full version. This program can be extremely difficult to remove manually, and will continue to try to recreate itself. VirusProtect is affiliated with the Zlob family of malicious Trojans. The latest version of this rogue software program is VirusProtect 3.8.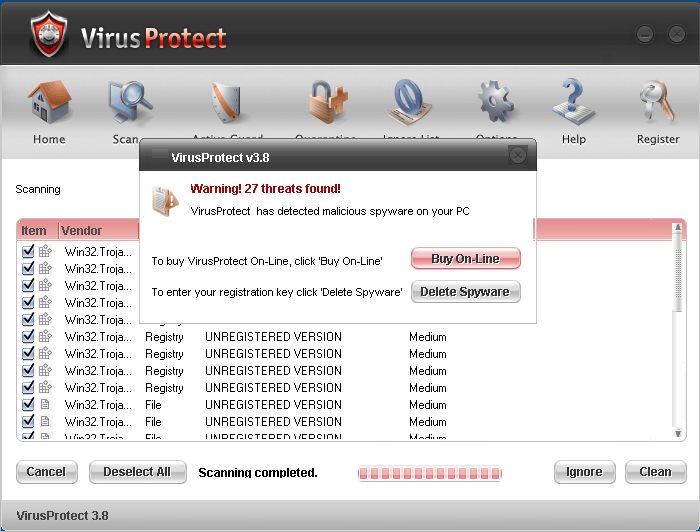
Table of Contents
Aliases
15 security vendors flagged this file as malicious.
| Anti-Virus Software | Detection |
|---|---|
| Symantec | Trojan.Zlob |
| Prevx1 | Small |
| Panda | Adware/AntivirusPro |
| Microsoft | TrojanDownloader:Win32/Renos.CG |
| F-Secure | Trojan-Downloader.Win32.Bojo.aa |
| eWido | Downloader.Bojo.aa |
| eTrust-Vet | Win32/Crushpy.L |
| DrWeb | Trojan.Fakealert.origin |
| BitDefender | Adware.Renos.XD |
| AVG | Generic9.ADJM |
| Avast | Win32:Bojo-H |
| AntiVir | TR/Crypt.CFI.Gen |
| Prevx1 | TROJAN.CS |
| Panda | Adware/VideoAddon |
| Fortinet | W32/Zlob.EHX!tr |
SpyHunter Detects & Remove VirusProtect

VirusProtect Video
Tip: Turn your sound ON and watch the video in Full Screen mode.
File System Details
| # | File Name | MD5 |
Detections
Detections: The number of confirmed and suspected cases of a particular threat detected on
infected computers as reported by SpyHunter.
|
|---|---|---|---|
| 1. | rldyt.dll | 62728d0a4f0a1efa716e05ec70737310 | 6 |
| 2. | sshnas21.dll | 5869e1adebcd41b84b0edcc17dc5dc5b | 5 |
| 3. | Wnd.exe | 19318e051f65a5b1a5593df467edb50a | 5 |
| 4. | ao7wknx4m.exe | a20f74dce2b3fbe49f4d5d449ebf6f9f | 2 |
| 5. | emlkdvo.dll | 2d164719eca76cc5ae639af18652af37 | 0 |
| 6. | bdzzzcl.dll | 020f090af370a598aa364ad41e0b9dd7 | 0 |
| 7. | VirusProtect_3.9.exe | 387404b0bed2641505dcd79a838a604d | 0 |
| 8. | vtssp.dll | 246c924947c9fea4428d8c84694571d4 | 0 |
| 9. | pmspl.dll | 54ca821fe5e76bcdcbd499fb07d8f098 | 0 |
| 10. | pmspl.dll | b7fd405e749ce49f536d32d97927202d | 0 |
| 11. | pmspl.dll | 76464171be3137d186ff53fd2f986918 | 0 |
| 12. | pmspl.dll | b8f18ac046b70917a31bbd512bac0485 | 0 |
| 13. | pmspl.dll | 39034c522e3509eefe5aab30fe0c279b | 0 |
| 14. | wowlze.dll | 04d655d046980e0edca47497577ae963 | 0 |
| 15. | ncrjf.dll | 35ee0e53ad58ea369471f60a7d41e044 | 0 |
| 16. | ecxwp.dll | 7a329404de21925daacbbbee093ff6dc | 0 |
| 17. | tvtpwp.dll | a0fae0632097c90a291f7bffb962e5d7 | 0 |
| 18. | uglgs.dll | 5ed372498dc3723538c55cfcef30905f | 0 |
| 19. | VIRUSPROTECT 3.8.EXE | 2d4ef13d8104e6115a2e1bba7ddb5610 | 0 |
| 20. | wxinptv.dll | b311cd7890bc953988792878fb34da7f | 0 |
| 21. | ivrllc.dll | bf7bb745aedd97079c09c34cad990113 | 0 |
| 22. | ymmzwd.dll | 9636e2ce404d4f5d6328c157b16b5475 | 0 |
| 23. | monem.dll | 42946f6598ab398ab316038e380d8232 | 0 |
| 24. | VirusProtect 3.8.exe | 9fee3c104c96ab567e84b9f56d3731a5 | 0 |
| 25. | wygomd.dll | 67617f63d9830e4a1d529b917da12eeb | 0 |
| 26. | chzbi.dll | 5ee82158796ba6bbc35c8e80efd42742 | 0 |
| 27. | ucmbegr.dll | 9aed222181a2aa2e4da2859d870aaa9e | 0 |
| 28. | VirusProtect 3.8.exe | 7ffe0f3cb476f7f52372c7c5b0ad23db | 0 |